Did you know that vinegar has many uses, and one of them is that it can be used to clean your home? Vinegar has many advantages including being cheap, natural and very good at removing dirt, if you just put some energy into your DIY cleaning project. We’ll provide you with some tips to make the whole process easier for you.
Although there are different kinds of vinegar, the one you will want to use is the white type.
Another advantage it has is that it’s not as harsh as many of the other chemicals you can end up using, and you may want to consider using this for your refrigerator, where all your foods is stored, and avoid your food getting in contact with these chemicals. You can use a 50-50 ratio of vinegar to water to clean the surfaces and wipe up spills inside your fridge.
It can also be used for the drain by finding a scrub brush so small it is able to go in the disposal. Pour vinegar on it as well as a bit of baking soda. You can even pour baking soda down the drain, and pour a glass of household vinegar in it afterwards as this can act as a preventive measure to minimize the risk of build up. It is so good that you can even use it to clean your cutting boards, but remember to rinse them afterwards.
It can also be used for cleaning other surfaces such as those of the microwave. One of the best tips to DIY clean a microwave is to pour 50-50 vinegar to water in a bowl, microwave it until it boils, and you’ll now easily be able to wipe off everything in there. What you need to remember is that you don’t want to clean anything made of natural stone using vinegar as its acidity can damage it.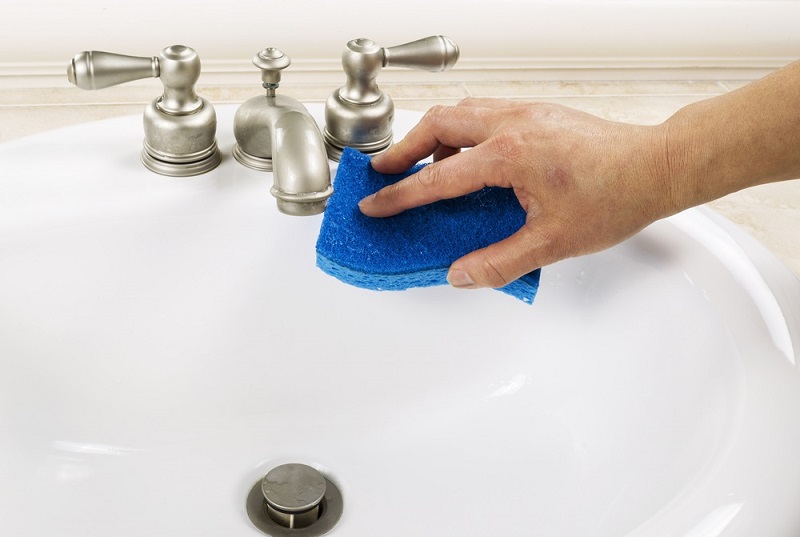
So you’ve spent a lot of time and money remodeling your bathroom, now you want to maintain it properly also. We’ve gathered a list of tips to specifically clean your bathroom too. White vinegar can also be used to clean a lot of the surfaces in your bathroom, including a lot of tile surfaces.
For the toilet, you can simply pour some vinegar into the toilet, leave it over night and you will wake up to a completely different toilet. The higher the ratio, the harsher the job it will be able to handle. Generally, the higher the concentration you’re using, the better its cleaning-power.
The same as with the microwave, by heating up the vinegar, you can get a really good deep-clean in the shower. Use the hot solution on the shower’s walls and doors, and do it a couple of times with some minutes in between each wipe down.
A 50-50 ratio solution can be used on many surfaces, including those made of glass, and can be used to clean floors the natural way and easily remove dirt. Got bad odors? Wet the place with the bad odors with vinegar, add baking soda and use a brush against the smelly spot. When it’s been left and has dried, you just vacuum the remainders.
When you’re cleaning the floor, you will generally want to use about .5 cup of vinegar per gallon of water.
Vinegar can also be used for an air freshener, window cleaner, all-purpose cleaning solution and disinfectant for surfaces that naturally get a lot of germs.
Air freshener
|
Window cleaner
|
|
All-purpose
|
Disinfectant
|
Although keeping your home clean is a thing you need to take seriously, you also need to take a minute once in a while and ask yourself if perhaps it would be a good idea to update certain aspects of the house with a remodel.
You have to do it even if you might not like it, but cleaning your home is an important part of home maintenance. One of the things which you can use for this is vinegar, and with its acidity, it can remove even some bad stains. It can even be used to remove rust from tools and more.
Even if vinegar can be used to clean certain things, it can’t be used for everything and before you choose to use it, you should familiarize yourself with the best cleaning products for whatever you’re cleaning.
[bctt tweet=”Vinegar is not just for food – it is also a good natural cleaning solution.” username=”ContractorHelp”]
While vinegar is also used in food, that is definitely not the only thing that it can be used for, which will become obvious from reading this article.
Check out the many purposes this household item possesses.
We have included some of the most common things you can use vinegar to clean, not to say that it is exhaustive, and there are also cases when you won’t be able to clean those things with it for whatever reason.
Below are some of the things that can be cleaned with vinegar. Details on how to do it are also provided below.
- Hands – if you get something on your hands, you can use vinegar to get it off, but make to rinse thoroughly with water afterwards as the acid is the active ingredient.
- Drains – since vinegar is an acid, it can be used to remove some of the things clogging up the drain.
- Steam iron – if there’s a mineral buildup, vinegar can take care of the problem.
- Certain stains on clothes
- Surfaces with glue residue from stickers
- Carpets
- Shower doors
- Dishwair
- The microwave
- A lot of floor types
- Window
- Blinds
While vinegar can be used as a spice for your food, it clearly has so many uses around your home.
Things that should Not be Cleaned with Vinegar
While vinegar can be great for a lot of things, there are also things it’s not good for, which in fact it will simply cause damage to by getting in contact with.
If there are things that can be cleaned using vinegar, there are also those that do not go well with it as it can damage them or cause discoloration. Below are some of the things that we should not clean using it.
- Countertops – those made with marble or granite should not be cleaned using it as its acidity can damage the surface and cause scraping.
- Stone flooring or tiles – just like the item above, natural stones are not very good with vinegar as well. Its acidity can cause damage to the surface of the stone.
- Egg spill or stain – using it to clean an egg that has spilled on the floor or has stained your cloth will only make the task more difficult. The acidity of the vinegar will thicken the egg, making it tougher to remove.
- Iron – it should not be used in cleaning your iron as it can damage its internal parts. To clean it, just follow the manufacturer’s cleaning guide.
- Hardwood flooring – there are conflicting comments on this one. Some homeowners have said that using vinegar was effective in cleaning their hardwood flooring, but there are some who said that it damaged their flooring. Because of this, it is recommended to just use a solution that is specifically recommended for hardwood floors. If you want to use vinegar, make sure to mix it with water and test it first on a hidden spot.
- Some types of stain – blood, ice cream, ink, and some other types of stain may not be removed with vinegar. These stains are absorbed immediately so a different strategy or solution may be needed to get them removed.
Vinegar to Water Ratio
Vinegar is one of the items you can see in every household’s kitchen. This makes it a very accessible item that we can use as an alternative cleaning solution. Because of its acidity, vinegar can effectively and safely clean a lot of things that we use every day. It is made of 95% water and 5% acetic acid. Vinegars vary depending on their acidity level. White vinegar, for example, has about 5% acidity while champagne vinegar has 6% acidity.
When used as a cleaning solution, 5% acidity is recommended. A stronger acidity, however, may not be too bad as it is also ideal in executing tougher jobs like cleaning the toilet. Studies have been done to explain how the acidity can kill various types of viruses and bacteria. A study conducted in 2010 revealed that malt vinegar with 10% acidity can be as effective as some of the commercial cleaning products out there in killing A/H1N1 or Human Influenza virus. Undiluted vinegar, on the other hand, is as good as bleach when it comes to eliminating E.coli.
In using vinegar as a cleaning solution, mixing it with water is necessary. The ratio will depend on the situation or the material that you need to clean. For instance, pure vinegar is what you want to use if you need to clean thick stains or heavy mildew buildup on a surface. It is also recommended in disinfecting a cutting board. However, for mild cleaning requirements, a 50 – 50 solution will work just fine.
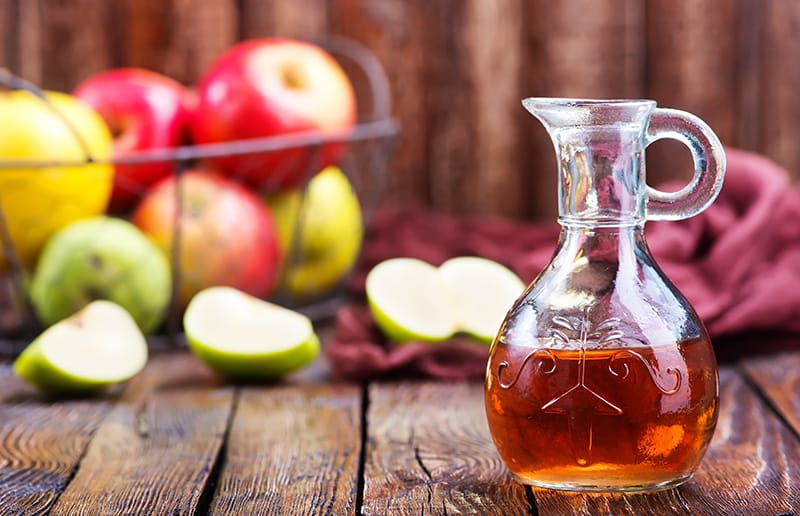
Can I Use Apple Cider Vinegar instead of White Vinegar?
 s
s
The use of vinegar as a cleaning solution has been an option because it is more affordable than other cleaning solutions out there. Aside from this, homeowners are also looking for a more environment-friendly cleaning solution.
When we talk about vinegar being used as a cleaning solution, it includes both the white vinegar and apple cider vinegar. Both have acidity levels that make them effective in removing stains and disinfecting materials. Like white vinegar, apple cider vinegar or ACV is also a biodegradable and non-toxic cleaning option for many households.
How it Works
Using ACV as a cleaning solution is a good alternative as it is safe and effective in removing dirt and mineral buildup and even in disinfecting or killing viruses and bacteria. Although it cannot clean as much as chlorine bleach does, its acidity gives it its properties to clean and kill bacteria. The primary cleaning element in ACV is called acetic acid. It is safe to be used on most materials or surfaces, but it can cause discoloration on some types of materials like on wood finishes. It can also cause scratching on some types of stone materials.
Mixing ACV with water reduces it acidity level, thus giving it a milder cleaning property. It can clean surfaces without the risk of discoloration, scratching, and the likes. But despite this, make sure to test your cleaning solution on the material by applying a small amount before fully using it.
When Used to Clean the Kitchen
An equal amount of ACV and water creates an all-around cleaning solution that can be used around the kitchen. It can be used safely to deodorize and clean your microwave, refrigerator, and other appliances in the kitchen. The cleaning solution can also disinfect cutting boards, sink, walls, and other areas in the kitchen. It can also be used to deodorize your dishwashing machine and prevent mineral accumulation at the bottom.
When Used to Clean the Bathroom
A mixture of water and ACV in equal amount is an effective solution to clean your bathroom. It can be used to clean the cabinets, counters, sinks and other parts of the bathroom. Homeowners can also address any foul odor coming from the bathroom drain by pouring a half cup of baking soda into it, a cup of ACV, and a glass of hot water.
Allow the mixture to settle for 10 minutes before flushing the drain with boiling water. To clean showerheads and soap scum, it is recommended to use pure ACV. The acidity level of undiluted vinegar can help remove mineral buildup and other residues.
When Used to Walls, Windows and Laundry
In cleaning the walls, windows, and laundry, it is recommended to mix ACV with water in equal amount. This solution can be used safely to clean painted walls, cabinetry, and other areas in the house. It can also prove to be helpful in removing stains and eliminating odors in the house. A cup of ACV can also be added to your laundry to disinfect and freshen it including your washing machine.
Coffee Maker

Vinegar as a cleaning solution helps by removing mineral buildup, grease and other types of things that need cleaning. For example, it can be used for your coffee maker. In fact, it’s best if you make sure to do so at least twice a year, which also means that you will get better tasting coffee.
As mentioned in the topic earlier, vinegar is a good cleaning solution because of its activity level. It can work in removing mineral buildup, grease, and many types of stains. Because of this, it is also recommended in cleaning coffee makers. Ideally, they should be cleaned at least every six months to keep them clean and prevent any unusual taste in your coffee.
Below is the process of cleaning a coffee maker with vinegar. Just a reminder though that if you need to clean your coffee maker, make sure to get a schedule that will not disrupt your coffee schedule especially if you are a frequent coffee drinker. It is recommended to do the cleaning at night before bedtime or during the weekend.
- The process starts by removing the filter from the coffee maker and any coffee residue from it. Throw the used filter and remove any excess water in the machine.
- Rinse the filter basket with water to remove any coffee deposit. Make sure to remove coffee residues stuck in it. Afterwards, put the basket filter in the coffee maker.
- Know the amount of vinegar to use in cleaning your coffee maker. You can find it online or by reading the user’s manual. For the process that we are discussing here, the recommendation is to use 1.5-ounce vinegar and 1.5-ounce warm water. Use less depending on the condition or how dirty the coffee maker is.
- As soon as you know how much vinegar you need, create the cleaning solution by mixing 1.5-ounce vinegar and 1.5-ounce vinegar warm water. Again, you can lessen the amount of vinegar depending on how much dirt you need to remove. Pour the mixture into the coffee carafe.
- After pouring the mixture, press the brew button. Pay attention to it as you need to turn the coffee maker midway through its cycle.
- Let the solution sit in the coffee maker for about 30 mins to 1 hour after you have turned it off. During this time, the vinegar will tackle any buildup of molds and mineral.
- After 1 hour or 30 minutes, turn the brew function on again. Let the cleaning solution brew and do its job. At this point, you should see white or brown bits in the solution.
- After the brewing is completed, remove the cleaning solution from the coffee maker. It is okay to see remnants of the cleaning solution in the coffee maker.
- Using soap and warm water, clean the carafe to remove any remaining coffee residue and cleaning solution from the machine. You may also use a clean sponge to scrub the inner part of the coffee maker. Rinse it with clean water afterwards.
- After rinsing, pour an ample amount of water into the coffee maker. Turn the brew function again to allow the water to further clean the machine. Do this step three times to ensure that the inside of the coffee maker is completely cleaned. You may wash the machine with soap and water and repeat the process if you wish until the coffee maker is totally clean.
There may seem a lot of steps but for a coffee lover, having a clean coffee maker is a must!
Dishwasher
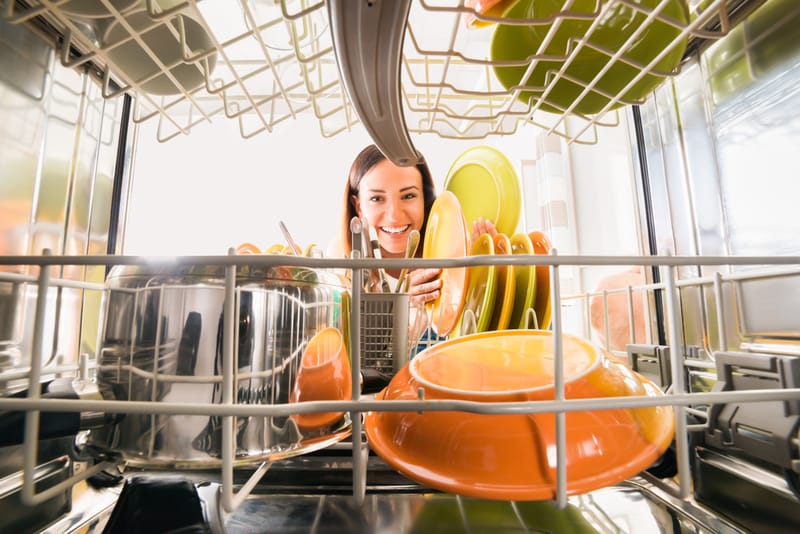
Your dishwasher at home needs to be cleaned on a regular basis to prevent the growth of molds and bacteria. The process can be tedious though especially if the cleaning process will be done by hand using soap and water. But do not worry as there is an easier and more efficient way to clean it and that is with the use of vinegar and baking soda. The mixture of those 2 can clean your dishwasher by running its normal wash cycle.
Below are the steps to properly clean your dishwater with vinegar.
- Remove all the dinnerware from the dishwasher. Once it is emptied, pull out the washing rack at the bottom carefully.
- After doing the step above, make sure to clean the dishwasher drain by removing any food particles that may have been trapped in it. Run water through it as you remove trapped debris using your hands or a brush. This is important as trapped food particles can cause clogging and can damage your dishwasher.
- Remove the filter, which may require you to unscrew it from the washer. Once it is removed, soak it in water with dishwashing soap for about 10 minutes before rinsing it with clean water.
- Once the dishwasher rack and the filter are cleaned, put them back into the dishwashing machine so they can be included in the next cleaning process which involves the use of vinegar.
- Pour 230 ml of vinegar into a cup and place it on top of the washing rack. Run your dishwasher to let it disinfect the machine. Just ensure that the cup or container that you will use is dishwasher safe.
- Sprinkle baking soda on the bottom part of the dishwasher and let it absorb any unpleasant odor. This will leave your dishwashing machine smelling fresh.
Microwave
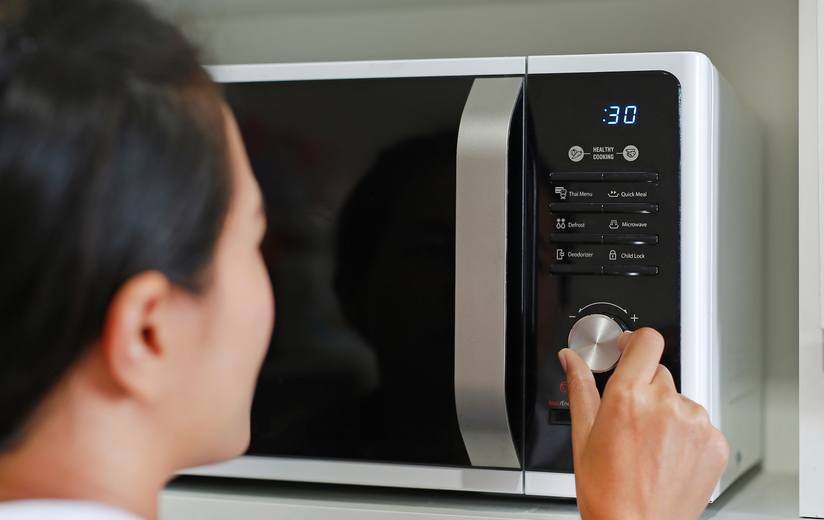
Your microwave in the kitchen is prone to get a foul odor due to food debris that may be left inside it when you heat your food. Those food debris may harden in time if they are not removed immediately and it may become difficult to clean or remove them. But thankfully, the process of cleaning using steam from a vinegar and water solution will help in cleaning and disinfecting the inner part of the microwave more easily. Below is the process for your reference.
- Make sure that you have the required materials as shown below:
Microwaveable bowl, Vinegar, Water, Toothpick or stirrer, Sponge
- Using the microwavable bowl that you got, pour water and vinegar into it. The recommendation is to mix them in equal amount. The measurement should be based on how long you want the steam to take place. A half cup of each is good enough, but if you need to steam the machine longer due to tough dirt, then use more.
- As a caution, put a toothpick or stirrer into the bowl as it can prevent an explosion when you heat the bowl with the solution. This is optional, but most people do this to be safe. You will see that the toothpick or stirrer will have bubbles, allowing the solution to boil safely. In case you are not aware, bubbles cannot form on smooth surfaces. Hence, explosion may happen if you heat a similar material in it. This is the reason why microwavable plates and bowls do not have a completely smooth surface.
- Heat the bowl for about 5 to 10 minutes. This will depend on how dirty your microwave is. After the specified time, do not open the microwave immediately for about 1 or 2 minutes. This will allow the steam to stay inside the microwave, thus making it easy to remove food debris.
- After 1 or 2 minutes, carefully remove the bowl from the microwave. Keep in mind that its surface could be hot so use a pot holder to get the bowl from the machine. Slightly soak a sponge into the water and vinegar solution. Use it to scrub the inner part of your microwave. The food particles should come off without exerting too much effort.
As you can see, this task is fairly easy so you should do it regularly.
Hardwood Floors

You may not be aware of it, but a vinegar and water solution can be used to clean even your hardwood flooring. The process is the same as if you will clean it using a cleaning solution that you can buy in the market. The only difference is that it is much cheaper and safer than the latter. Below are the steps to clean your hardwood floor with this solution.
- To start, make sure to vacuum or sweep your flooring thoroughly. It is important to make sure that it is dust or dirt-free to prevent any scratching on the floor surface.
- After the first step, create your cleaning solution by mixing 1 gallon of water and half cup of vinegar. You may use a clean container or bucket to do this.
- Soak a clean mop into the solution and squeeze it to remove excess cleaning solution from the mop.
- Mop the floor following a constant direction. Repeat step 3 as needed as you mop through your entire flooring.
- After, let the floor dry for a few hours. You may wipe it using a clean cloth to make it dry faster.
- Do not let your kids or pets to get in contact with your flooring until the solution has completely dried.
Toilet
Cleaning your toilet does not require the use of harmful or strong cleaning solutions that can be hazardous to your health. This cleaning solution we are talking about involves the use of vinegar. To do this, follow the guidelines presented below.
- Prepare 0.5 cup of vinegar, 0.5 cup of borax, and a toilet brush.
- Pour the vinegar into the toilet bowl and let it stay there for a few minutes.
- Brush the sides of the bowl to remove its dirt and stains.
- Flush it. Repeat the process as needed.
- For hard to remove stains, mix borax with water and apply the solution to your toilet bowl. Let it sit there overnight before scrubbing the bowl using a toilet brush.
- Flush and see the difference.
Headlights on Your Car

With all the different parts of a car, the headlights probably get the least attention from the owner. The exterior of the car, the wheels, and the interior get the most attention. Owners get them cleaned using expensive car cleaning products including car coating or exterior finishes, but nothing special when it comes to the headlights.
Headlights must not be ignored as they are very important especially the moment you start the engine and drive at night. Over the years, they may get foggy and not be as effective in performing its purpose. While this cannot be prevented, there are ways to fix the problem and restore the quality of your headlights.
You need not spend too much as the cleaning alternative we will present below involves the use of affordable ingredients such as baking soda, vinegar, and your regular dishwashing soap. Below are the steps for your reference.
- Start by putting dishwashing soap in a glass of water.
- Dip a cloth into the cleaning solution and use it to wipe and clean your headlights.
- Next step is to create a mixture of baking soda and vinegar. You might notice some chemical reactions, but do not worry as it is completely normal and safe.
- Using the same cloth you used to wipe the headlights earlier, dip it into the baking soda and vinegar solution you prepared. Wipe the headlights with it.
- Lastly, wipe your headlights off using a clean cloth.
Easy, right? Do it for your own safety.
Brass
Cleaning brass could be either easy or challenging. It all depends on your level of awareness about it and how it is cleaned, how they tarnish and how to address its tarnishing. Brass tarnishes and it is a common process of oxidation after exposing it to air. Brass can be kept untarnished and shiny by using lacquer to cover its surface. It is also important to remove its tarnishes using a brass cleaner that can be bought in the market.
But aside from those cleaning solutions that are available commercially, brass can also be cleaned using a common household cleaner like vinegar. Below are the steps.
- Create your cleaning solution by mixing 2 parts vinegar and 1 part water in a clean container. Your container must be big enough to let the brass to be completely soaked in the solution.
- Submerge the brass in the water and vinegar solution for about 2 to 3 minutes.
- Remove it and rinse it with water.
- Dry it afterwards.
Washing Machine
 c
c
Many people are not aware that a washing machine must be cleaned occasionally. For some, it does not make sense since it is a machine that does the cleaning. While it is true, people have to realize that due to the activity it performs, washing machines can accumulate dirt over the years.
If the dirt is not cleaned or removed, then it can affect the operations of a washing machine. Molds and mildew can build up on its surface or in its parts, thus affecting how it operates. Hence, they also must be cleaned to keep its performance at its best. Below is the process to clean your washing machine with vinegar.
- Start the cleaning process by setting the temperature of the washing machine at its hottest level. Set it also at its longest program and highest capacity.
- Add 4 cups of vinegar to the water. Close the cover of the machine and allow it to run for a few minutes.
- Open the cover to stop the machine, but do not drain the water and vinegar solution yet. Give it an hour to do its purpose, which is to remove any bacteria hiding in your washing machine.
- Depending on how dirty your washing machine is, you can either repeat the process or end it as soon as you are satisfied with the cleaning activity you performed.
Oven
The idea of cleaning your dirty oven can make you feel hesitant to even start doing it. The smell, dirt, food particles, grease, and the likes inside the oven could be challenging to remove. Worry no more, however, as you do not have to spend too much money and time to get it cleaned efficiently. You can both clean and disinfect your oven by simply using a vinegar and water solution and its steam. Below is the process to clean oven with vinegar steam.
- Remove all the steel racks from the oven but keep one in the middle of it.
- Clean the inside of the oven by removing food debris and wiping off the surface using a clean cloth.
- Get a microwavable pot or glass and fill with water and vinegar in equal amounts.
- Put the microwavable pot or glass inside the oven, on the rack that you placed in the middle as instructed earlier.
- Turn on the oven and select 250 degrees from the temperature button. Set it for 30 minutes.
- Once done, turn off the oven and remove the glass with the solution. Remove the rack as well. Keep in mind that the oven’s surface and everything that came from inside will have a hot surface so be careful in removing the glass or pot. Use a mitt as applicable.
- Wipe the inside part of the oven. The food debris should fall off easily, thus allowing you to clean the surface without too much effort.
Windows
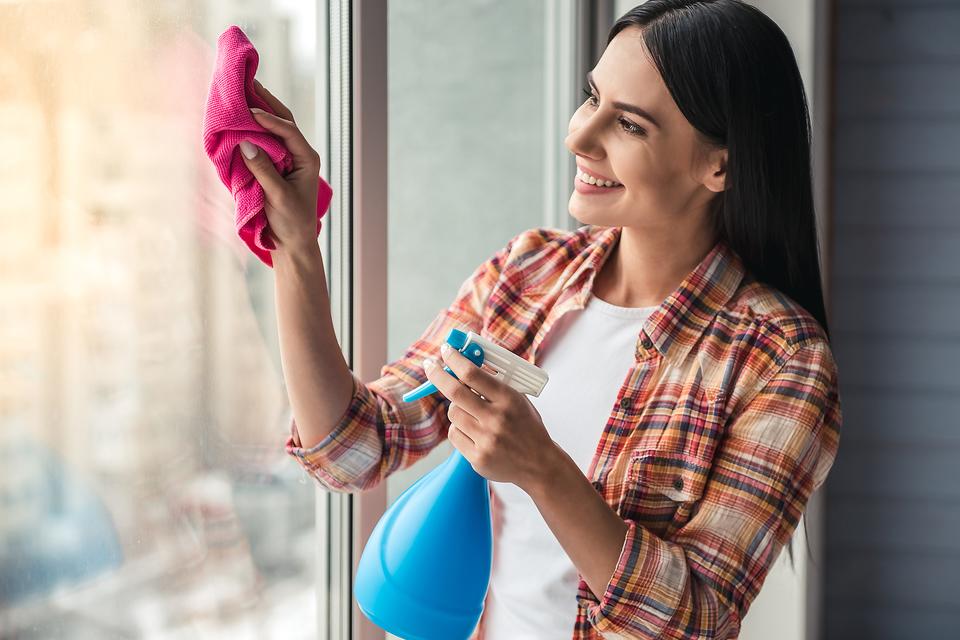
White or distilled vinegar can be used as a natural cleaning solution in the household. While there are many things or materials where it can be used, it is most ideal when used to clean glasses such as windows as it can efficiently clean and leave them without streaks. Baking soda can also be used with vinegar in cleaning your windows and helps in preventing the spread of dirt while doing so. Below is the process if you’re not getting the help of professional cleanerS.
- If you have not cleaned your windows using vinegar previously or have not cleaned it at all for a long time, creating a strong cleaning solution is recommended. To do this, mix 480 ml water, 60 ml vinegar, and 2.5 ml dishwashing soap.
- For regularly cleaned windows, the solution can include only water and vinegar. Mix 240 ml water with 240 ml vinegar.
- For windows that are extra dirty, the use of pure vinegar may also be done. Just warm 240 ml vinegar and use it directly to clean your windows. With this option, you may need a spray bottle to execute the cleaning properly.
- Once your cleaning solution is ready based on the condition of your windows, it is time to begin the actual cleaning process. To get started, make sure that the windows are cleaned before applying the cleaning solution you prepared. This is to remove dust from the surface. You can use a paper towel or a clean cloth for this. This is recommended to prevent the dust from spreading around the window area. Make sure to remove any objects or obstacles near the windows. It is also recommended to put a floor mat or bath towel on the floor so you have something to absorb any spills while you are applying the cleaning solution.
- Put the cleaning solution in a spray bottle. This is ideal as it will allow you to control the amount of solution you will apply on the surface.
- Spray an appropriate amount of solution on the window surface. If there are several windows, make sure to only apply the solution on one window at a time.
- After step 6, rub the entire window surface using a cloth so the solution is applied on the surface completely. Make sure to do this quickly to prevent streaks from showing on the surface.
- Dry the surface of the window. Use a microfiber cloth to get this done nicely. Again, do this quickly to prevent streaks from showing.
Don’t be intimidated with the number of steps that you need to do. Once you get started, it’s smooth-sailing from there.
Drain
The mixture of baking soda and vinegar has gone a long way when it comes to making a natural cleaning solution for our household cleaning requirements. One of the problems it can address is to clean the drain. Using this solution gives you an alternative instead of using some harmful drain unclogging solutions in the market. Below is the process to use baking soda and vinegar to clean your drain at home.
- Start by pouring a pan of boiling water down the drain.
- After, pour about half cup of baking soda in it. Let it sit there for a few minutes.
- Mix 1 cup of vinegar with boiling water. Pour the mixture into the drain.
- Cover the drain with its plug to hold up the reaction down the surface. Let it do its magic for about 5 to 10 minutes.
- Flush it again with boiling water.
Silver
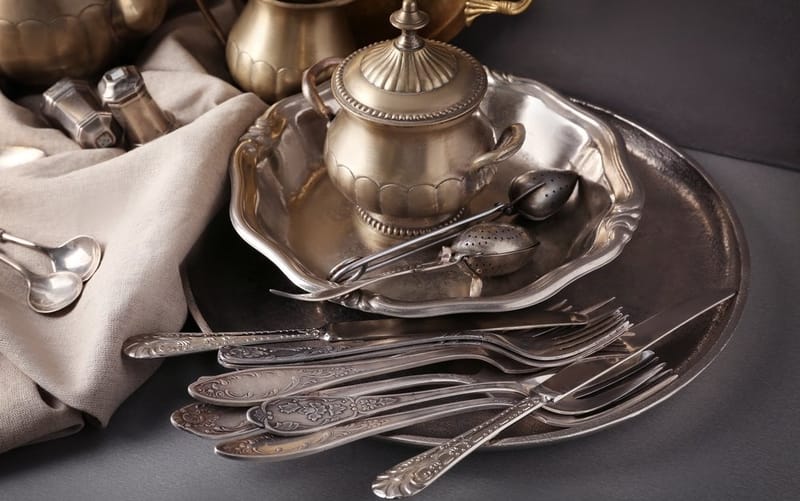
Silver jewelries require regular cleaning as they can lose their quality due to oxidation when exposed to air. Silver tarnishes and can get dirty easily. If not cleaned, you would end up not using them, thus getting useless over the years. Cleaning your silver jewelries can be simple with the use of vinegar so there is no reason for you to miss it. Below is the process.
- Get a clean jar or cup where you can put your silver jewelries. Pour an ample amount of vinegar into the cup. Make sure that your jewelries are completely soaked in it. Soak them in for 2 to 3 minutes depending on how dirty or tarnished your jewelries are.
- Rinse and dry your jewelries afterwards.
- For better cleaning, you may choose to mix 2 tablespoons of baking soda with vinegar. Like the earlier step, let your jewelries soak in the solution for 2 to 3 minutes.
- Rinse them under the faucet and let running water clean your jewelries.
Carpet
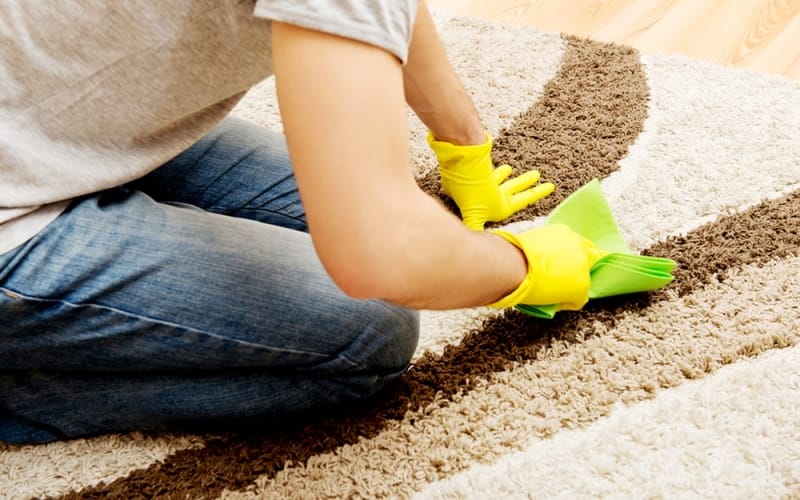
It can be used in cleaning several materials and areas in the house. It can be used to clean your microwave, refrigerator, toilet, walls, sinks, and many others. Its acidity level makes it a good cleaning solution because of its anti-bacterial and antimicrobial properties. These make this kitchen staple effective in loosening dirt, making it easy to be cleaned.
Aside from the materials and areas in the house mentioned above, vinegar can also be used in cleaning the carpet. Below are the different procedures to clean your carpet with vinegar.
- Before using vinegar to clean your carpet, make sure to test it on a small hidden area first. This is recommended not just when using vinegar, but with any type of cleaning solution.
- To do the recommended step above, moisten a clean cloth with vinegar. Apply a small amount on the carpet surface and let it stay there for a few minutes. Blot it up a few times.
- After 24 hours, go back and check if there is any discoloration or damage on the surface of the carpet. If none, then proceed in using it.
- It can also be used to remove stains on the carpet. This may include food stains, dirt from pets or footprints, and the likes. Keep in mind though that the efficiency of vinegar to clean the said stains depends on how long they have been on the surface. It is always recommended to get them cleaned as quickly as possible after the staining happened. This will prevent the stain from getting deeper into the carpet. Remember that the longer it stays on the surface, the more it will be absorbed by the fibers which will make it more difficult to remove. Apply vinegar on the affected area using a clean cloth. You may also spray directly. Repeat this process as needed until you see that the stain has disappeared. Let it completely dry afterwards.
- It can also be used for steam cleaning. This can be done by simply putting vinegar in the steam cleaner and following the user’s manual. This does not require any rinsing. The smell may be evident in the room at first, but as soon as it dries, the smell will disappear.
- Deodorizing is also one of the cleaning activities vinegar is good at. To deodorize your carpet, mix 1 teaspoon of baking soda, 1 tablespoon vinegar, and 2 cups of water. Put them in a spray bottle and shake well. Wait for the bubbles to disappear and then spray it onto the carpet. As mentioned earlier, the smell of vinegar will be evident initially, but it should go away as soon as it is completely dry.
Grout
Cleaning the grout in between your tiles is one of the things vinegar can do. If not cleaned on a regular basis, it can get dirty and will be very unpleasant to look at. Below is the process for cleaning grout with vinegar.
- Before starting the cleaning process, make sure that you have all the needed cleaning solutions and tools. You should have vinegar, baking soda, water, small container, spray bottle, measuring cup, used or old toothbrush, and some rags or paper towels.
- Make a cleaning paste by mixing water with baking soda.
- Apply the cleaning paste you made to the grout. You can use an old toothbrush to do this.
- Mix water and vinegar in equal amounts. Put it in your spray bottle and spray some of the mixture to the grout (while it has the cleaning paste you applied earlier).
- After a few minutes after spraying the solution, scrub the grout using an old toothbrush.
- The surface may look a bit messy at this point. Wipe the mess away using a cloth or paper towel. Soak the cloth in clean water and repeat the process until the area is completely clean.
Shower head
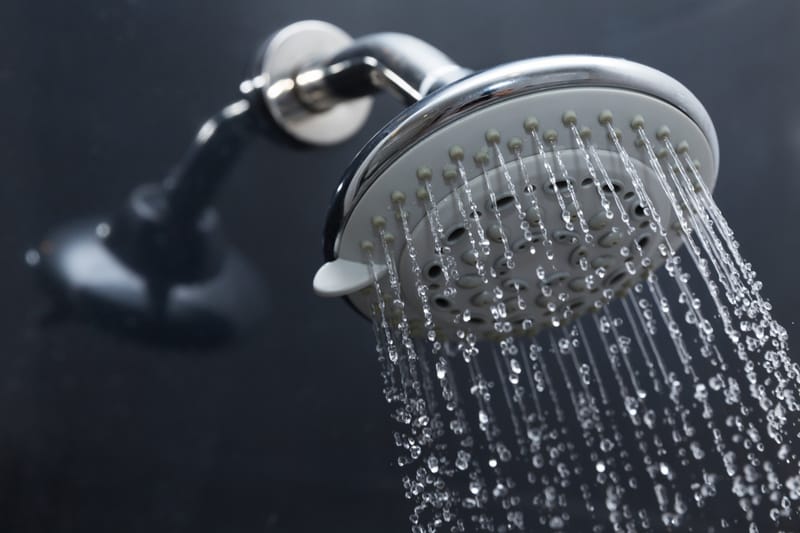
If you have not cleaned your showerhead for a long time, then it is most likely clogged already due to mineral buildup. Instead of cleaning it using hazardous cleaning solutions available out there, you may grab a bottle of vinegar from your kitchen and create a cleaning solution out of it. It is not only a cheap alternative, but also safe for you, your family, and the environment. Below is the process involved in cleaning showerhead with vinegar.
- To get started, be sure that you have all the supplies that you need such as the vinegar, water, old toothbrush, container or pot, and cloth.
- If your showerhead can be disassembled, remove it from the body of the shower. Twisting it will let you disconnect the showerhead easily.
- As soon as you have removed it, put it in the container or pot that you have. Make sure that it is big enough for the showerhead to completely soak in vinegar. Using a big one will require more vinegar which is not recommended.
- Fill the container with vinegar enough to soak the showerhead completely. Let it sit for 30 minutes or longer to allow the acidity of vinegar to soften the mineral deposits inside the showerhead. The more clogged your showerhead is, the longer it needs for it to be soaked in vinegar.
- If you do not have the time to wait for a longer soaking time, for metal showerheads, put the showerhead in a pot of vinegar and boil it. Let it simmer for about 15 minutes.
- For brass showerheads, soak it for about 30 minutes only.
- Once done, rinse the showerhead with water. At this point, you should see mineral particles falling off the showerhead.
- Using an old toothbrush, brush the showerhead while trying to reach the inside of the holes as most mineral buildups would be there. Rinse once done.
- Repeat the process until your showerhead is completely cleaned.
- Install the showerhead back and turn on the water. Let water run through it for a few seconds to further flush out mineral residues from it.
Shower Doors

Shower doors in the bathroom are prone to getting notoriously dirty due to soap scum that can accumulate on its surface. They are also exposed to moisture every day so they will likely develop molds and mildew if they will not be cleaned on a regular basis. This is a reality for all types of shower doors such as aluminum, glass, and plastic. While there are cleaning products available in the market, using a cheaper and more natural cleaning solution is also possible. Below is the process to clean shower doors with vinegar.
- Mix equal amounts of water and vinegar in a spray bottle. Spray the mixture on the shower door surface both on the front side and back.
- Allow the cleaning solution to sit for about 5 minutes or up to 30 minutes depending on how dirty the door is. Let the vinegar and its acidity soften the dirt and scum so it will be easier to brush or remove them.
- After the required time, use an old toothbrush to scrub the surface of your shower door. Spray more solution as needed.
- Rinse with water and repeat the process until the shower door is completely clean.
- After cleaning your shower door, it is also recommended to perform some measures to prevent it from getting dirty easily. As a preventive measure, put some baby oil on a clean cloth. Wipe the shower door using the said cloth. The oil will prevent soap scum from building up on the door surface.
When you’ve had a beautiful shower installed, it’s only natural that you wish to keep it clean and tidy as well.
Walls
The use of vinegar and water solution can also be used to clean walls. Below is the process for reference.
- Before getting into the actual cleaning process, start by protecting your floors by putting towels or newspapers on the floor area where you will start cleaning the wall. This part is optional, but most homeowners decide to do this to prevent their floors from absorbing any spills while you clean. In case you do not decide to do this part, be sure to have a cloth or mop around so you can immediately clean the floor in case it is required.
- Ventilate the area as needed. This will depend on how strong you intend to make your cleaning solution and how small and ventilated the area is. Keep in mind that the smell of vinegar can be overwhelming so make sure there is proper air circulation in the area.
- Since electric outlets are installed on the wall, make sure to unplug any appliances connected to the outlets to prevent electric issues. It is recommended to turn off the power source for those outlets including light switches and cable and telephone outlets.
- Remove any hanging décor as well. You do not want to clean only the exposed area of the wall as skipping the ones at the back of a hanging painting may cause it to get too dirty and cause discoloration over time. Remove anything that is mounted on the wall or covering the walls such as wall clocks, cabinets, speakers, and the likes.
- Once the walls are ready, create your cleaning solution. It is recommended to begin with a mild one by mixing 2 to 3 tablespoons of vinegar with 1 gallon of water. Mix them in a container which you can carry around the house.
- Test the cleaning solution on one area, ideally the one that is hidden, to test if it will cause any discoloration. Use a sponge to do this. Soak it in the cleaning solution and squeeze it to remove any excess solution. Wipe a small area in a circling motion. Repeat it as necessary before rinsing it with water and wiping it using a cloth.
- If no discoloration has appeared, continue cleaning the entire wall following the process mentioned earlier. You may add vinegar to the solution as you find necessary. Keep in mind that as you increase the vinegar level, the acidity of the solution also increases. The acidity makes it a good cleaning alternative. But remember that higher acidity may cause discoloration so make sure to perform the test before going full-scale in doing it.
- Depending on how dirty your wall is, you may also add baking soda into the solution. Again, observe some caution in doing this especially if your walls are painted as baking soda may damage them.
- After you have applied the cleaning solution on the walls, get a bucket of clean water and get ready for the 2nd round of the cleaning process. Soak the sponge in it and wipe the wall surface to remove the cleaning solution from it. You may have to do this process more than once until the walls are completely free of the solution. Make sure to use a different sponge as well in this process as the first one you used to apply the cleaning solution may just spread stains or dirt all over the wall. Use soft sponges as well.
- In cleaning your walls, be sure to start from top to bottom. The bottom part needs to be cleaned last so you can cover any drips from the top as you clean the entire wall.
- If you need to use a ladder to clean high walls, take extra care or ask a professional to do it instead.
Kitchen Cabinets
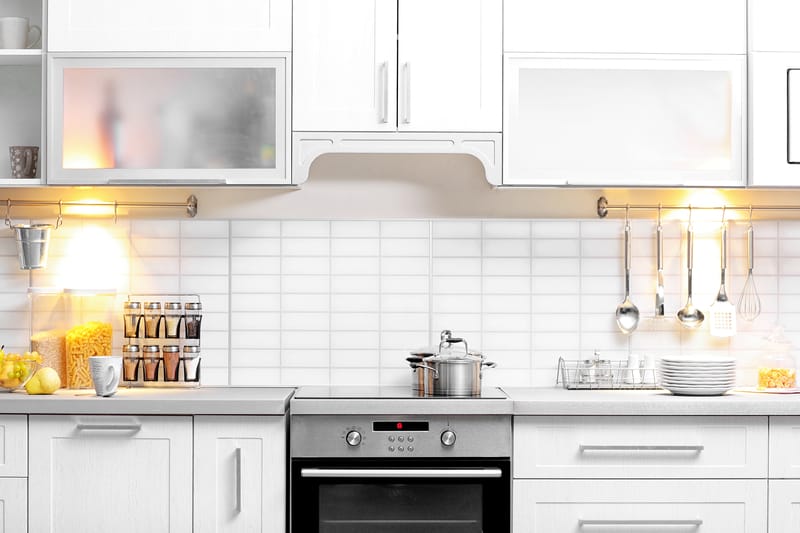
Kitchen cabinets require regular cleaning as they may get filthy due to food debris, grease, spills, and the likes. Dust can also accumulate on its surface if it is not cleaned regularly. Cleaning your kitchen cabinets regularly will not only make them look good, but will also keep your kitchen items clean and safe for everyday use.
Since the kitchen is where you cook your food and most of the items you use for cooking are stored, it is essential that the cleaning solution and process you employ is safe. You can use vinegar instead of the ones available in the market. Below is the process to clean kitchen cabinets with vinegar.
- Create a cleaning solution. Mix it with water and put it in a spray bottle. Use equal amounts of vinegar and water for this cleaning solution.
- Remove everything that is inside the cabinets.
- Spray the cabinets with the cleaning solution and let it stay there for about 5 minutes.
- You may want to spray a few more after 5 minutes as needed. This will depend on how much dirt you need to clean.
- Wipe the cabinets clean using a cloth. Repeat the process as necessary. Make sure to soak the cloth each time and squeeze it to remove excess water. Do this until all traces of dirt and solution are gone.
- Let the cabinets dry and put all the items in there initially afterwards.
Humidifier
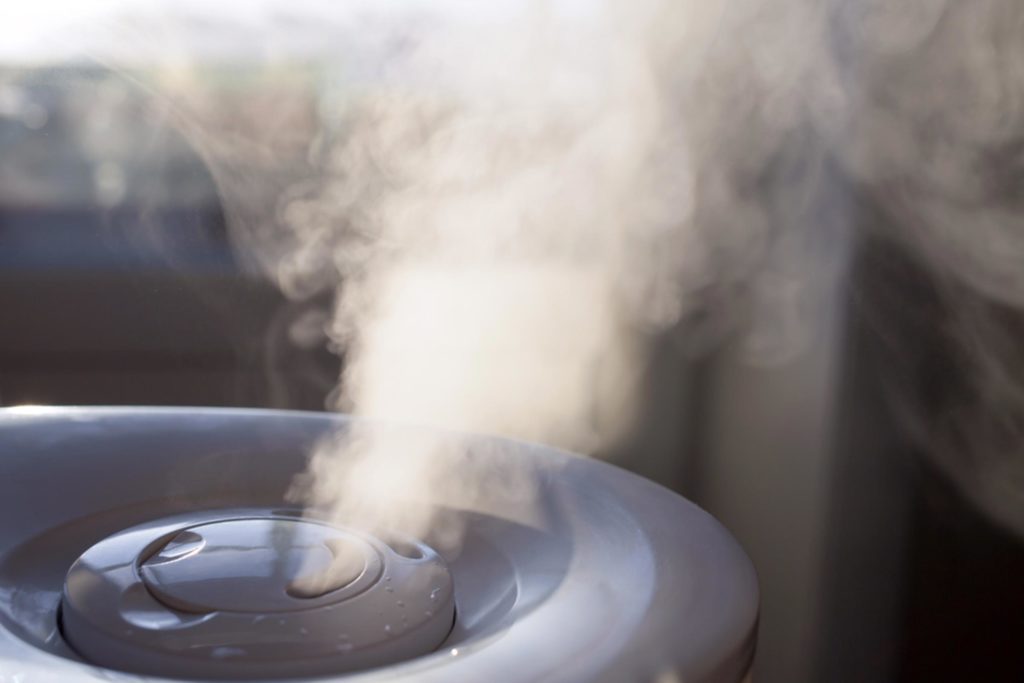
Because of its exposure to water and moisture, a humidifier can suffer from mineral, molds, and mildew buildup. It will affect the performance of the humidifier especially if it is not cleaned for a long time. For better performance, the recommendation is for you to get it cleaned every week.
Cleaning a humidifier is very simple as it may only involve the use of vinegar and other basic cleaning supplies. Below is the process on how to clean humidifier with vinegar.
- The first step that you need to do is to disassemble the unit. Make sure to shut it off and that it is unplugged. To do this, make sure to follow the user’s manual. If it is missing, getting some instructions online is what you need to do. The parts may include small ones such as screws so make sure to keep them together and not lose any of them.
- As soon as the parts of the humidifier have been taken apart, create a cleaning solution using 1 cup of vinegar and 1 cup of water. Put the solution in a spray bottle.
- Start the cleaning process with the humidifier’s tank by spraying the vinegar and water solution onto it and scrub it after. Also, remove the cap and empty the tank. Put the solution you made earlier inside the tank and allow it to stay there for a few minutes. After, scrub the inside using a brush such as an old toothbrush to remove its dirt and mineral residues.
- After cleaning the tank, clean also the unit’s base and filter. The filter must be soaked in the solution for about 45 minutes. Do the same for the base. After the required soaking time, use a sponge or brush to clean both parts carefully.
- Rinse all the parts and let them dry completely.
- Once the parts have completely dried, reassemble your humidifier and start using it as needed.
Wood Furniture
Vinegar can also be used in cleaning your furniture at home. However, take extra caution in doing this as some furniture may not go well with it. It can damage some types of furniture materials so make sure to test the solution first before using it completely. Below are the steps to clean wood furniture with vinegar.
- Create your cleaning solution by mixing vinegar with water. Start with a mild one by using a small amount of vinegar. If you want to use it for polishing, you can mix it with olive oil to leave your furniture both clean and shiny.
- Vacuum or wipe your wood furniture to remove dust from its surface. This is important before applying the solution on the furniture to prevent scratching.
- After this, you may start using the cleaning solution by testing it on one area of the furniture. Make sure that this testing is done to see if it will cause any damage or discoloration on your furniture.
- If there is no damage or discoloration after the first application, then proceed in cleaning your furniture using the solution that you prepared. Spray a small amount on a clean cloth and use it to wipe the furniture. This does not require any rinsing. Using the solution will leave your furniture looking polished.
- Be aware that the smell of vinegar will only be present in the beginning. It will eventually go away as soon as the solution dries.
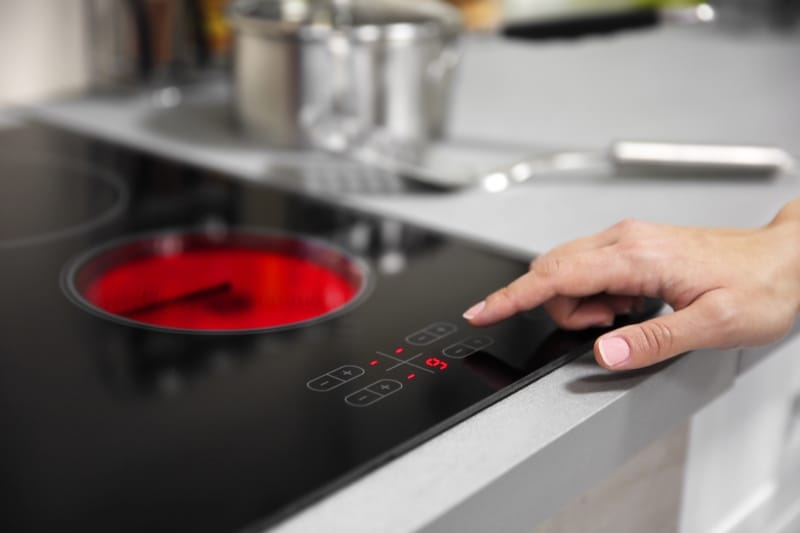
Glass Stove Top
Stoves are prone to getting dirty due to food spills and grease that can accumulate during cooking. This includes a glass top stove. It must be cleaned using non-harmful cleaning solutions to prevent any damage to its surface. Wiping it every day after use will keep its quality and allow it to perform well for many years.
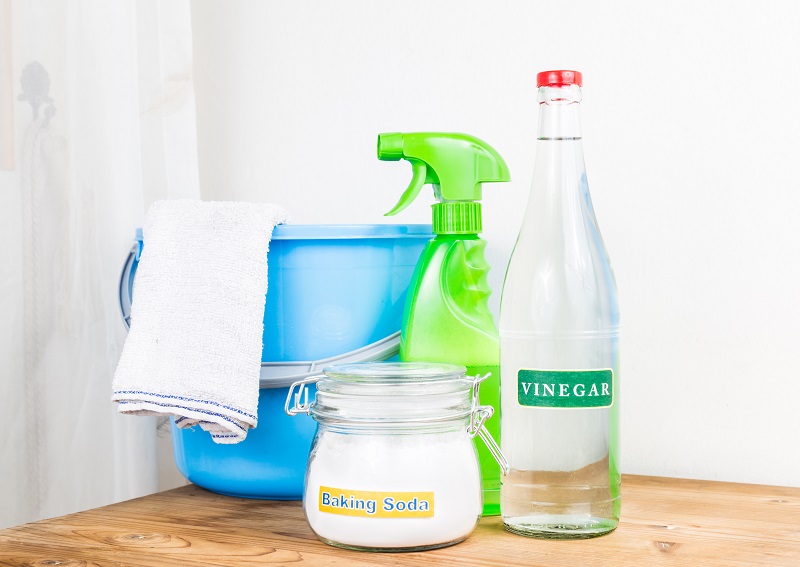
Cleaning a stove does not need expensive cleaning solutions in the market. You may use vinegar, baking soda, and water for it instead. Below are the procedures to clean a glass top stove with baking soda and vinegar.
- Prepare your cleaning solution before anything else. Get a cup of vinegar, baking soda, and a clean cloth.
- Spray a small amount of vinegar on the stove surface. Make sure that all the areas are sprayed with vinegar to loosen any food debris or grease that has accumulated on the surface.
- Wipe it down using a clean cloth. At this point, you should see some food particles or grease getting removed as you wipe the surface.
- After applying vinegar on the surface and wiping it clean, sprinkle a small amount of baking soda on top of the glass top stove. Baking soda is used in cleaning because of its alkali content that helps in breaking down grease and dirt. This will help you remove them from the surface more easily.
- Soak a clean towel in hot water. Squeeze any excess water and then put it on top of the stove with baking soda. Leave it there for 15 minutes to allow the moisture to further soften the grease or dirt on the surface.
- Using the same towel, wipe down the surface to remove the baking soda and the dirt and grease that will go with it. Rinse the towel and wipe the surface again. Do this repeatedly until the entire surface is clean.
- Scraping hardened food debris may be done as needed. Do this carefully to prevent scratching on your glass top stove.
- Polish the surface by applying a few more vinegar and wiping it until completely clean.
Makeup Brushes
Your makeup brushes must be cleaned regularly. You use them on your face, which is enough reason to ensure that they are clean all the time. You do not need anything expensive to do it as you may use vinegar for it. Below is the process to clean your makeup brushes with vinegar.
- Mix 1 tablespoon vinegar with 0.5 teaspoon dishwashing soap and 1 cup of warm water.
- Soak the brushes in the solution for about 10 minutes or more depending on how much dirt your brushes have.
- After 10 minutes, rinse the brushes well with clean water.
- Once the brushes are cleaned, put them on a clean cloth and let it dry overnight.
Pavers
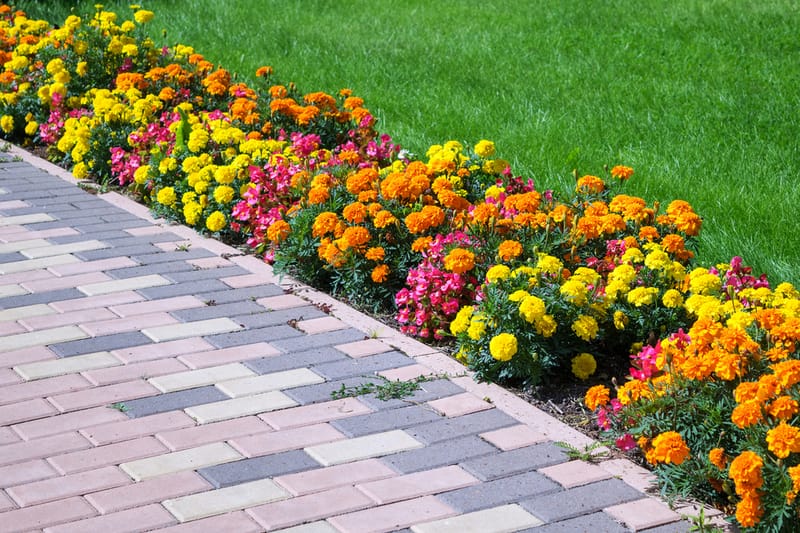
Vinegar is known to be an all-around cleaning alternative for a safe and affordable cleaning solution. It may be used to clean pavers and below are the procedures to get it done.
- Apply a generous amount of vinegar on your pavers. Make sure that all areas are covered to achieve the ultimate result.
- Let it sit on the surface for 1 hour. To prevent access to the paver during the said period, you may need to cordon the area or post a sign around it to keep family members from accessing it in the meantime.
- After 1 hour, pour some dishwashing soap and water on the surface.
- Using a sturdy brush, scrub the area to remove debris, stains, and the likes. The acidity of vinegar should have loosened the dirt or stains around the area.
- Repeat the process as needed until you get the results that you want.
Needless to say, you would need some elbow grease to do this task, but the vinegar should make it easy.
AC Drain Line
AC drain requires regular cleaning to prevent clogging and keep your air conditioning unit’s quality for a long time. A damaged AC requires professional assistance and this will force you to incur unnecessary cost. You can prevent this by ensuring that your AC drain is cleaned regularly. Below are the procedures to clean AC drain line using vinegar.
- Make sure to turn your air conditioner off. Do this by turning the thermostat to off status and unplugging it
- Look for the AC drain line. It is made of a PVC pipe attached near the outdoor unit. It is also installed on the wall.
- Know where the access point is on the drain line. Most drain lines have a cap or cover. Locate where it is and remove it. It is where you can perform the next step.
- Pour vinegar into the AC drain line. You do not need too much vinegar for this activity. About ¼ cup of it is enough.
- Let it sit there for about 30 minutes. It is expected to kill molds and mildew, algae, and other bacteria that may have settled in the AC drain line. If not cleaned, the said bacteria or fungi formation can clog the drain.
- Repeat the process every month to prevent your AC drain line from getting clogged.
Tiled Floors

Vinegar is a great cleaning solution for tiled floors. Below is the process for your reference.
- Mix ¼ or ½ cup of vinegar with 1 gallon of water. Put the mixture in a container.
- Once the solution is ready, sweep the floor using a broom. You may also vacuum the floor if you have one. This step is necessary to prevent particles or debris from scratching your floor.
- Soak your mop in the vinegar and water solution. Squeeze it to remove excess solution from it.
- Mop your flooring without skipping any area to ensure that it is completely cleaned. Start in one area as you move throughout the room and cleaning the entire floor.
- Let it dry.
Bird Bath
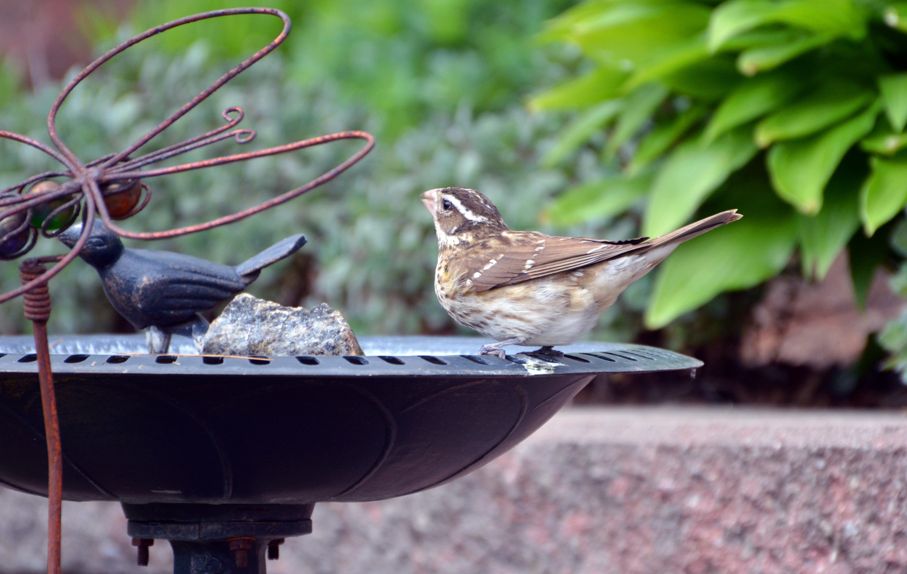
Birdbaths can suffer from molds and mildew buildup if not cleaned frequently. This may drive away birds, thus making your birdbath useless over time. A birdbath that is clean and filled with clean water will be very appealing to most birds and will be a great for bird watching. This will make your birdbath useful and the birds will surely be an added attraction in your backyard.
Having a clean area where birds can drink and play with clean water should be enough reason to keep your birdbath clean. Below are the procedures to clean a birdbath with vinegar.
- Preventing your birdbath from getting too dirty is a good way to clean it easily. It certainly requires cleaning, but there could be ways to limit it by preventing it from getting dirty in the first place. Below are some of the tips for your reference:
- Do not just add water to your birdbath when it is running out of water. Make sure to remove the water in it first before refilling it. This will ensure that any molds or algae that are starting to accumulate in the water are removed.
- Place the birdbath strategically. Put it in a shady area to reduce the growth of algae and slow down evaporation.
- Put it in the area where it is away from trees to prevent falling leaves from settling in it.
- Put it away from areas where birds feed to prevent seeds from falling in the birdbath, which could pollute the water
- Doing the steps above will not stop your birdbath from getting dirty after a certain period of time. Hence, cleaning it is necessary and vinegar can be used to perform it. Below are some of the steps you need to follow.
- Before starting to clean the birdbath, make sure that you have the required cleaning tools and solutions around. You need water, sturdy brush, vinegar, and rubber gloves.
- Wear gloves when you have to clean your birdbath to prevent any contamination. Keep in mind that the water could be polluted so make sure your hands are protected.
- Remove the existing water from the birdbath.
- Other debris such as stones, leaves, and the likes should be removed from it as well.
- Using a vinegar and water solution, brush the surface of the birdbath thoroughly. Scrub all its areas including the lip, basin, and other parts where birds could possibly land, drink, play, or bathe. Spray an ample amount of vinegar and water solution directly on the birdbath surface as needed. This will depend on how dirty it is. As you let the vinegar sit on it for a few minutes, make sure that no birds will come in contact with it until the cleaning activity is done. Repeat the process as needed.
- Rinse it carefully using running water. Make sure that the solution is completely removed, otherwise it may drive birds away.
- Let it dry completely.
Grill Grates

Maintaining the cleanliness of cooking tools we use regularly including barbeque grills is important to ensure the safety and good health of our family. Grills specifically could get really dirty if not cleaned after using it for grilling. And since it gets direct contact with our food such as meat or fish whenever we need to grill, the type of cleaning solution we use to get it cleaned is crucial.
We need to use safe and non-hazardous cleaning products to prevent contaminating our food. Vinegar can be used in this situation.
- Create your cleaning solution by mixing equal amounts of vinegar and water. Put half of the solution in a spray bottle while the other half should be placed in a bucket.
- Spray the grill grates with the solution you made. If you need to clean a gas grill, make sure to remove the grates from the burner before spraying it with the solution. This is to prevent the burner from getting wet. Let the solution sit for a few minutes.
- You may also soak the grill in the bucket with vinegar and water solution for a few minutes.
- Scrub the grates using a wire brush to remove charcoal, food, and grease buildup. It should be easier to remove them as they should have fallen off after soaking or spraying it with the solution.
- Rinse the grill with clean water until it is completely ready for your next grilling session.
- Before using it again, apply a small amount of olive oil on the grill grates to prevent food residue, grease, or charcoal from sticking to it.
